

Having only played a multi-player demo game run by John
Ewing at the Falkirk club and, even more fortunately, currently the temporary
custodian of John's fantastic French and Indian War miniatures, I was really
looking forward for chance to explore these rules further.
So a couple of practice games were organised with one of
my regular gaming buddies, Jamie M, in the Battleshed.
With a three month gap
since my first game and Jamie having never played before, this was most definitely
more of a run-through than a full-blown battle report.
To aid my middle-age memory we ran the excellent
video-tutorials by athilith downloaded from You Tube. These provide a quick to-the-point
overview of the basic mechanics of Muskets and Tomahawks. Enough to get players
started at least and just the job for myself and Jamie on this occasion.
We decided to run couple of standard 200 point lists (or thereabouts),
with me, unsurprisingly, commanding two units of British Regulars whilst Jamie
had the native Indians. We decided to include both the Random Event and Side Plot mechanics for both games just to see how they worked.
As we were doing a lot of rule referencing I didn't get a
detailed log of the events for games, so
I'll just give a brief overview of how my second M&T session ran.
The first game,
after rolling on the Objectives Table, (we forwent the Weather mechanic this
time), the British got an Engagement mission, where scouts have reported an
enemy force approaching and it was the redcoat's job to stop them advancing and
put 2/3 of the enemy out of action to fulfil their victory condition.
 |
| Open fire! |
The Indians had the Scouting mission, where the
battlefield was 'quartered' and they had to have at least one scout in each
quarter by the end of a turn to consider it 'explored'. Once all sectors were
explored at least a third of the Indians must exit their starting table edge to
fulfil their Victory condition.
This game played out reasonably straight forward, with
the Indians, due to their Scout Trait, using Dummy Markers to represent their
hidden Movement until successfully spotted. This trait also allowed them to traverse
Difficult terrain, like the woods, without any movement penalty.
Not only that, the first Event card drawn from the Activation
deck had us randomly rolling the snappily titled 'the sun is veiled before being
eclipsed by the moon. Indians see that as a good omen' event. The rules for
Night fighting were in force until Event card 1 was drawn again. This had all
models moving cautiously, so they lost 1" movement coupled with extra
range penalties for Shooting and Reaction tests if there are no friendly units
within 6".
 |
| "C'mon you malingerers, we've got work to do!" |
All good stuff considering the Indian's plan was to sneak
about scouting the area. Not so good for the Brits though. They had to march
around any difficult terrain otherwise their movement would be critically slow.
The inherent advantages for the natives had them easily exploring all
the sectors with little opposition from the Brits, who, once they eventually
managed to get themselves into close spotting range in the darkness, exchange
some pretty piecemeal fire.
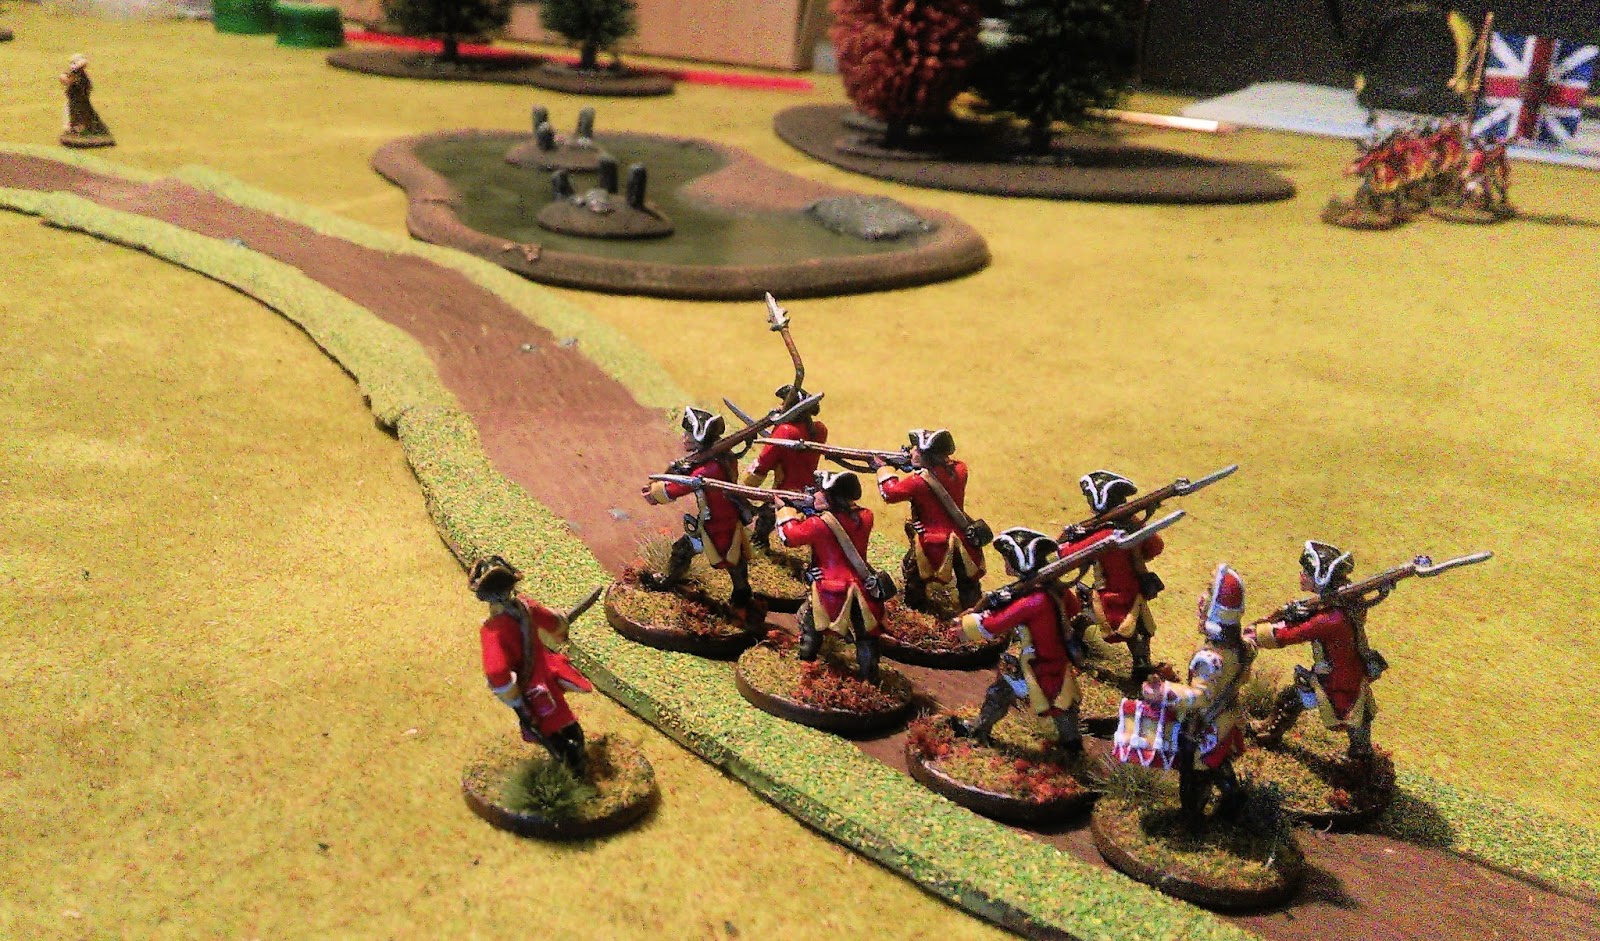
 |
| Prepare for bayonet charge! |
Nevertheless both British units took number of casualties before the Indians soon melted
back into the darkness, their mission a success. The redcoats could only stand nervously
with their Officer and NCOs trying to calm frayed nerves and maintain discipline
as individual troops occasionally fired their muskets at perceived movement in
the gloom.
The British resolve was
further tested when their rather cocksure Officer found himself detached from his unit
whilst 'investigating' the contents of the village buildings. He was ambushed and surrounded by a
gang of whooping native Indians and given a 'special' haircut.
 |
| The British Officer in a spot of bother! |
The second game
had the Brits rolling the Slaughter scenario, where they had what is described
as a 'very unpleasant mission' - entering a village to slaughter enemy civilians
within. Jamie's Indian force would be bolstered by Civilians under his control.
The Brits victory condition would only be fulfilled when all the civilians had
been dealt with. I must admit, I was rather uncomfortable with this scenario
given modern western sensibilities. But I am playing a historical period and
should look at it from 18th century thinking I suppose.
The Indians had the Raid scenario. Suitably armed with torches,
they had to burn the village by setting alight and destroying two buildings. I was
really starting to feel for these poor villagers. They were getting it from
both sides! There are rule mechanics for both setting alight building, depending
on its size and type of construction materials used (we had a level 2 building
of wood and stone) and once alight, a mechanism for randomly determining when
the building actually collapsed.
Side plots were also rolled this game. The Brits had
'It's not my fight any-more', where their Officer had to leave the battlefield
by the furthest table edge to fulfil his objective. Considering he was supposed to be co-ordinating a state-sanctioned massacre in the village
this caused a bit of a dilemma for me.
The Indians rolled Rivalry, where their leader has to
cause more casualties than the British Officer - not such a difficult feat is
the British officer was by now preoccupied with a most urgent appointment
elsewhere!
The game event, 'sometimes even hardened veterans can lose
their nerve' was drawn which had a random
unit (the Brits) on a roll of 1-3 immediately taking a Movement action to move
closer to the nearest enemy unit. Not so good when they were still unloaded
from a previous volley fire!
 |
| "D'you smell burning?" |
This was a rather more bloody and extended fight, with
the Indians having successfully set alight the nearest building whilst the redcoats slowly advanced. The natives were soon skulking around
the rear of the buildings making good use of the cover from nearby woods and
intervening fences.
The Brits were once again split into two units, with NCOs
taking command of both as the Officer was already hotfooting it away. With barely hidden disgust, the redcoats
continued with their grim work now complicated by the arrival of a band of torch wielding natives.
 |
| Quickly men! Form Firing Line! |
Both British units were soon engaged in a fierce fire-fight,
clouds of choking black powder smoke mingling with the burning buildings as
volleys were exchanged. It all came down to a desperate exchange of musketry
whilst the Indians cleverly shielded their civilian militia whilst simultaneously
chucking torches into the second building.
With casualties mounting on both
sides, the Brits struggled to get sufficient numbers to form a Firing Line
whilst receiving sporadic fire from
multiple angles. Eventually the second British unit reached the centre of the
village to add more welcome fire-power but by then the second building was well
alight.
 |
| Steady men! |
The Brits then trekked quickly past the first building,
feeling a blast of searing heat when the building's roof collapsed in the raging
inferno, hoping to head off the Indians now retreating back towards their deployment
area. A small number of the redcoats managed to find a good position behind a fence
covering a small piece of open ground between the woods. They knew the Indians
would have to dash across this to make their escape.
 |
| Reinforcements have arrived! |
However, with the thick smoke reducing visibility and hampered
by slow-loading muskets these redcoats could only chance a few speculative shots
as the Indians braved the open ground.
The Indians had achieved their objectives with both buildings now on fire and their
civilians returned safely. The British officer did 'disappear' off somewhere to
fulfil the side plot but they failed to deal with the rebel villages. Thankfully.
These two games demonstrated why I was so taken with
Muskets and Tomahawks the first time around. The scenarios, random events and side
plots all work together to add flavour and character to the battles and
skirmishes of the French and Indian Wars.
Like most rules, it'll l take a couple of play-throughs
before all the elements become familiar. But I'm thoroughly enjoying my foray
into this particular period of military history. Its only inspired me to
explore the even more. In fact, miniatures and terrain for M&T will
be on my list for Salute in April!
No comments:
Post a Comment